Driveway Sealing and Cleaning: A Step-by-Step DIY Guide


Maintaining your driveway not only enhances your home's curb appeal but also extends the life of the surface. One of the most effective ways to protect your driveway is through sealing and cleaning. This DIY guide will walk you through the process, saving you time and money while ensuring a professional finish.
Understanding the Importance of Driveway Sealing
Sealing your driveway creates a protective barrier against elements like water, oil, and UV rays. This barrier prevents cracks and stains, keeping your driveway looking new for longer. Regular sealing also minimizes the damage caused by freeze-thaw cycles in colder climates.
Gathering Your Materials
Before you begin, make sure you have all necessary materials on hand. You will need:
- High-quality driveway sealant
- Pressure washer or hose with a high-pressure nozzle
- Stiff-bristle broom
- Crack filler
- Paint roller with extension handle
- Safety gear (gloves, goggles)
Having everything ready will streamline the process and prevent delays.
Preparing Your Driveway for Sealing
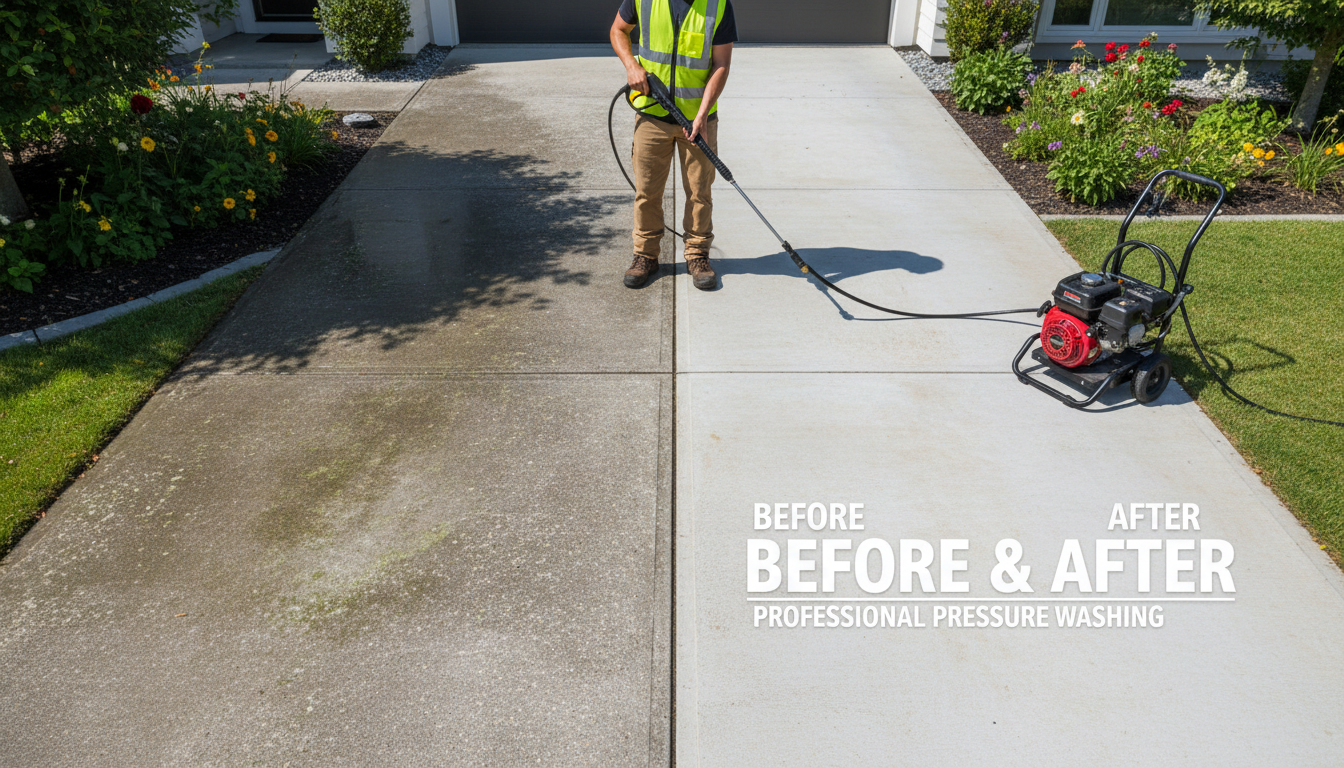
Start by thoroughly cleaning your driveway. Use a pressure washer to remove dirt, grime, and loose debris. For stubborn stains, apply a concrete cleaner and scrub with a stiff-bristle broom. Ensure the surface is completely dry before proceeding to the next step.
Inspect the driveway for cracks and holes. Use crack filler to repair any damage, following the manufacturer's instructions. Allow the filler to dry completely, as this will ensure a smooth and even sealant application.
Applying the Sealant
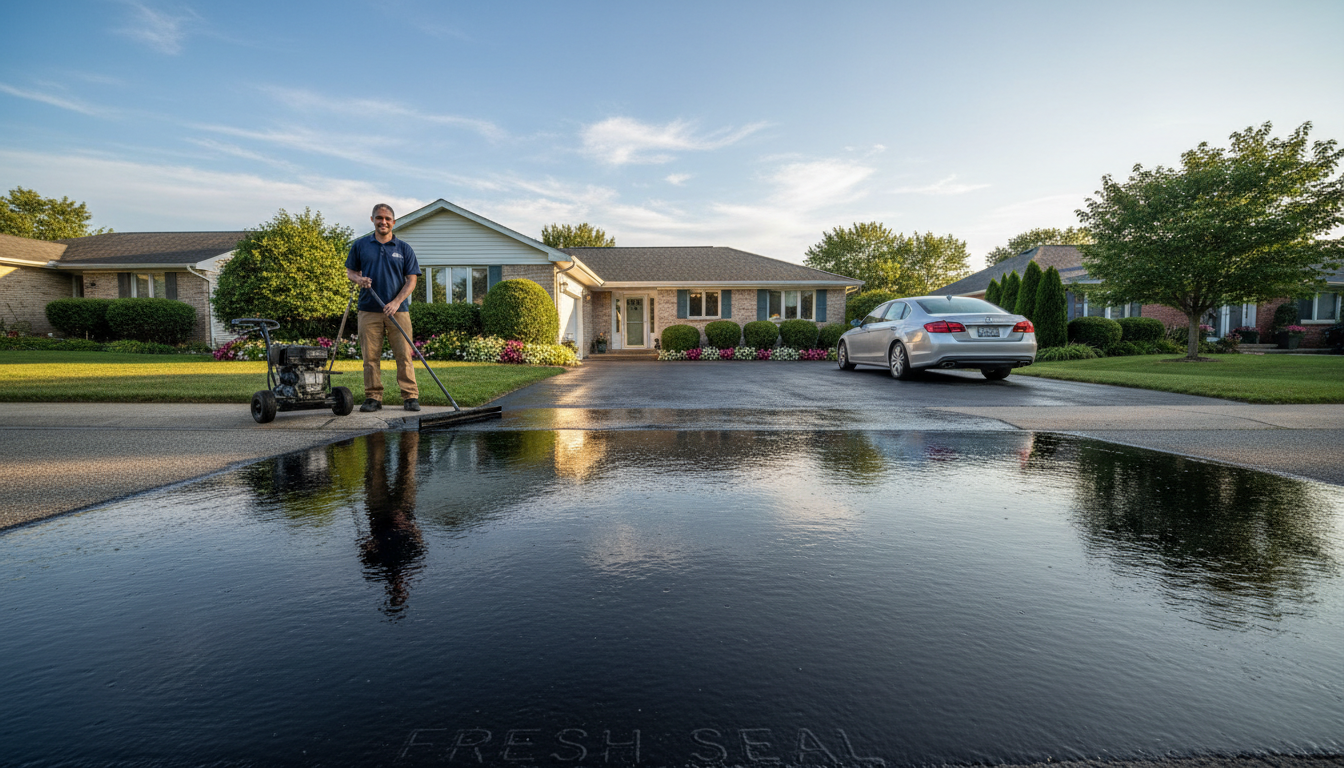
Once your driveway is clean and dry, you can start applying the sealant. Begin at the top of the driveway and work your way down. Pour a small amount of sealant onto the surface and use a paint roller with an extension handle to spread it evenly.
Apply the sealant in thin, overlapping layers to avoid pooling and ensure full coverage. Allow each coat to dry according to the manufacturer's instructions before applying the next one. Typically, two coats are recommended for optimal protection.
Curing and Maintenance
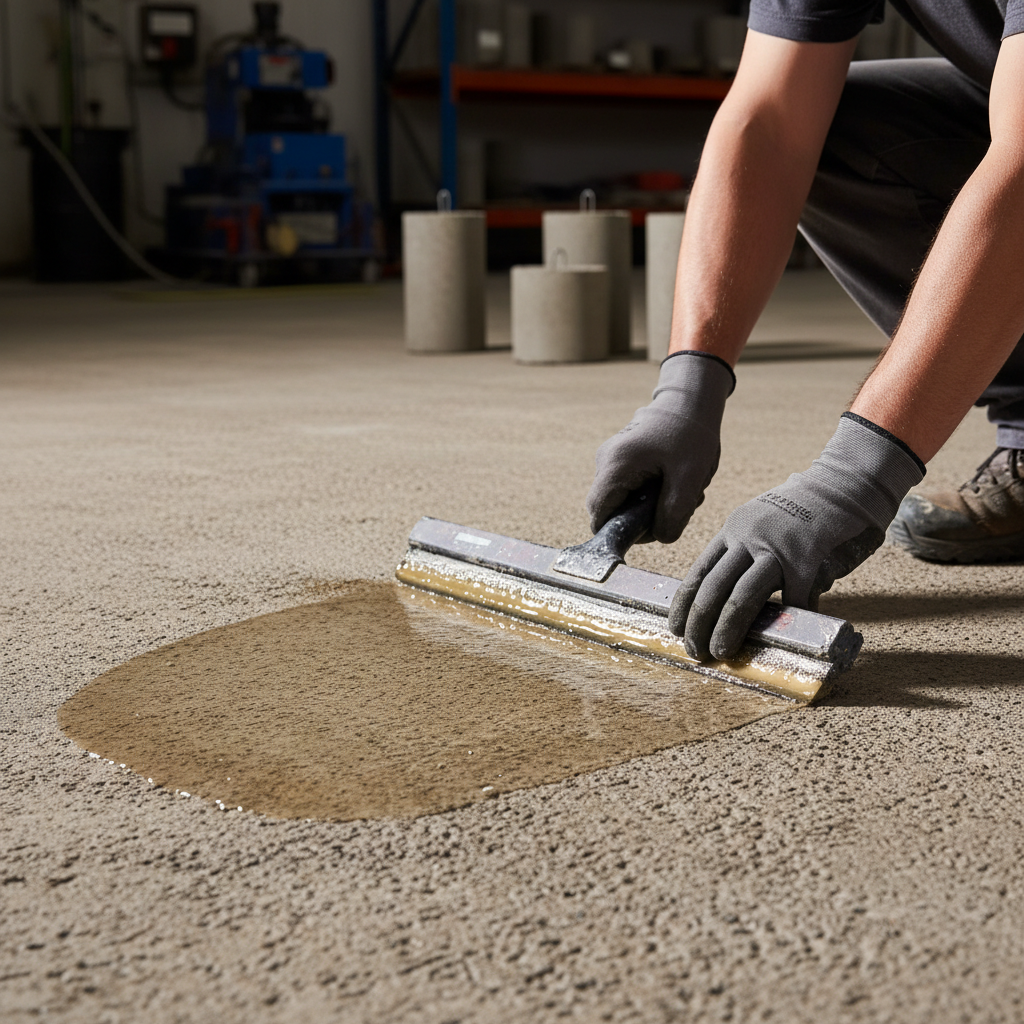
After applying the sealant, allow it to cure for at least 24 to 48 hours before using the driveway. This waiting period is crucial for the sealant to set properly and provide maximum protection.
Regular maintenance will keep your driveway in top condition. Sweep away debris and clean spills promptly to prevent staining. Reapply the sealant every two to three years, or as needed, to maintain its effectiveness.
By following these steps, you can ensure your driveway remains durable and visually appealing. DIY driveway sealing and cleaning is a rewarding project that not only beautifies your home but also adds value in the long run.